How to use Elfin Photo Editor?
Interface
a) Top toolbar

b) Left side: photo area
c) Right side: photo effects area.
3 kinds ( color effects, art effects, deform effects ), a total of 35 effects included.
Edit photo with Elfin Photo Editor ( step by step ):
1. Open your photo
2. Rotate, crop or resize it if needed
3. Adjust photo
Use auto adjust tool. Auto adjust tool is one of the most important tools in Elfin Photo Editor. It automatically optimizes photos with better definition, contrast and saturation to get eye-catching photos. It is recommended for all kinds of photos.

Use lightness tool for dark photos
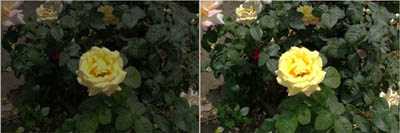
Use darkness tool for photos with too much light

Use other adjust tools ( contrast, saturation, color balance tool etc) if needed.
4. Add special effects to your photo
Add dream studio effect ( highly recommended )
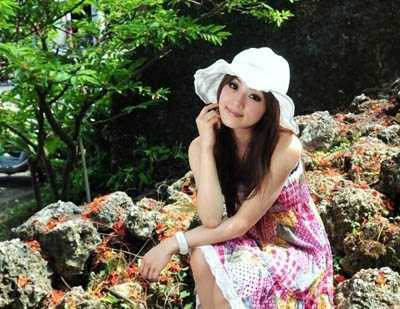
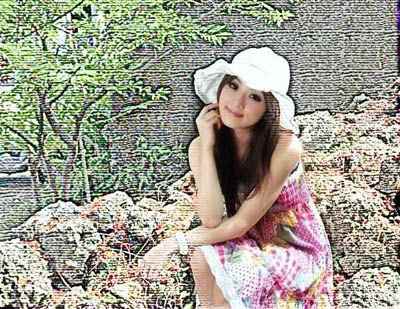
Original photo
Dream studio effect

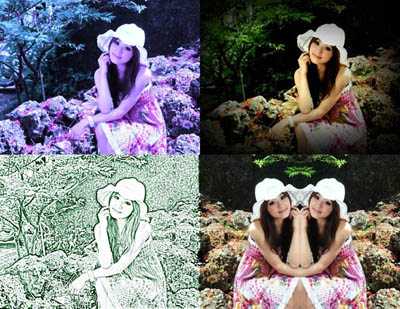
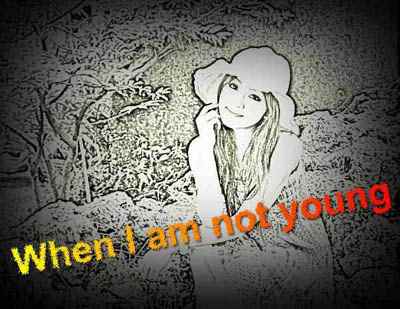
Some other effects ( Color filter, Lomo effect, Sketch effect and Twins effect )
5. Use recovery wand tool
Recovery wand is like an eraser which erase all changes to particular area and recovery this area to original state.
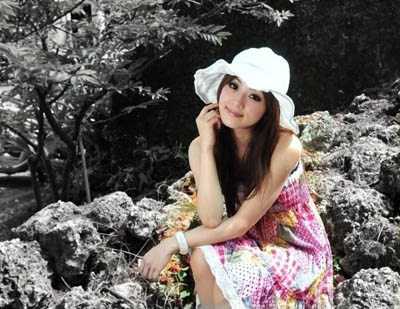
For example, you can apply grayscale effect to your photo then recovery the person area with recovery wand to get a special photo: COLOR person on GRAYSCALE background.
Try other effects with recovery wand.
For example, 1) apply crystal effect first ( we find that face area is blur, which we don't want.)

2) Recovery face area with recovery wand. Now face area turns clear again.

6. Frame

7. Text ( wordart )

8. Save photo
9. Quick batch processing: batch resize, convert, rename and rotate.
Skills A. Multi effects on one photo:Apply multi effects on one photo to get creative work.
Sample: Sketch effect, Crystal effect, Color filter effect.

Sample: Sketch effect, Lomo effect, text tool
Sample: Texture effect, color pencil effect, recovery wand tool
Skills B. About Twins tool
Twins tool is only suitable for photos of person on left side.
What we can do if person is on right side of the photo? You can first rotate the photo with Rotate--Flip horizontal tool before using Twins tool
Sample:
Original photo: person on right side

Directly use twins tool: where is the girl?

Rotate photo with rotate-flip horizontal tool before using twins tool: now person is on left side

Use twins tool
